We can follow our training sessions by diving into content.
We know that Account Engagement helps us with email marketing, so List Management is one of the most important things to understand. Let’s start!
Lists
Lists segment prospects and are used to define email recipients and email exclusions for list emails and engagement programs. We have different types of lists, but they can be divided into: static and dynamic lists. Some examples of statis lists are: email test list, CRM Visible List and Public List. And some examples of Dynamic lists are Public Lists.
- Email Test List: allows internal recipients to view an email as a tracked prospect.
- CRM Visible List: this list will be available in the Salesforce side so you can add leads or contacts directly.
- Public List: this list allows will be visible in email preference center, where your prospects will be able to directly manage their list subscriptions.
- Dynamic List: this is a criteria based list, you cannot add or remove prospects manually.
Sending Lists
Now that we know the differences between lists, we can see how to send a list to our prospects.
- Go to Account Engagement Email tab
- Click on Drafts
- Click on Send New List Email
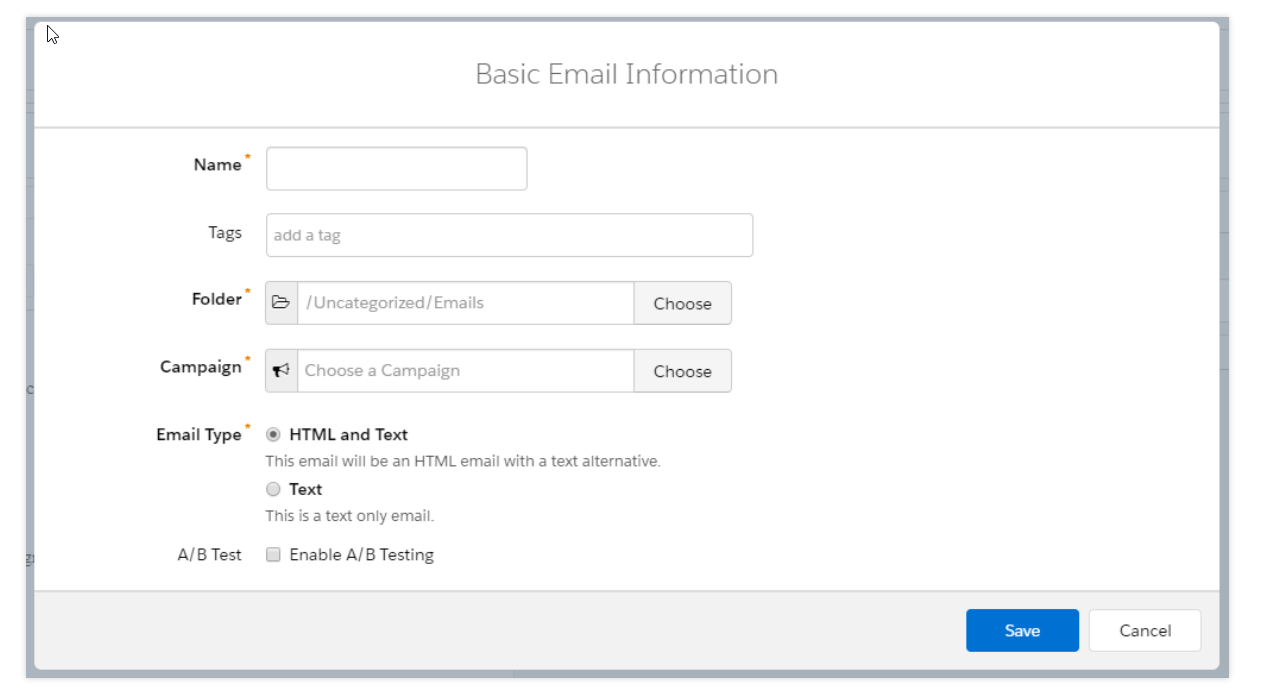
- Fill in applicable details
- Click Next and Select any Saved Template
- In this step, you will see different tabs:
- Building
- Editor: Here you can add new blocks, edit text, add images, add merge fields, etc.
- HTML: In this tab, you will see whatever you modified in the Editor Tab, translated to HTML
- Preview: You can see how the email will be delivered to a specific prospect.
- Text: This is the text version of your email, remember to always update the html version to text using the provided button.
- Testing
- In this step you can select an internal test list in case your want to run your email by your internal team first. You can also send individual emails. And, if your Account Engagement edition allows it, you can use Rendering Tests to see how your email will look on different email clients.
- Sending
- You can select the “From” options, as well as add a suppression list
- You can also add a subject line, and use merge fields if needed
- The last option to select is completion actions, this are automations you can add when sending your email. e.g. add a prospect to a specific static list when the email is sent.
- In case you want to send the email later, you can also schedule it instead of sending it immediately.
- Building
On the next session, we’ll talk about how to set up scoring and grading criteria on your prospects.
